Anyone can create a free account. The free tier (the “Basic Plan”) allows anyone to send three (3) free sign requests per month, and provides unlimited self-signing.
Creating an account is highly recommended, as it lets you:
- Save and manage your documents
- Track the status of sent sign requests
- Store contacts for quick access
- Save your signature for easy reuse
- Send signing reminders
- Create templates for one-click sign requests
- And more!
The most common method of creating an account involves your email address and creating a password. Follow the steps below to create a free eSign account:
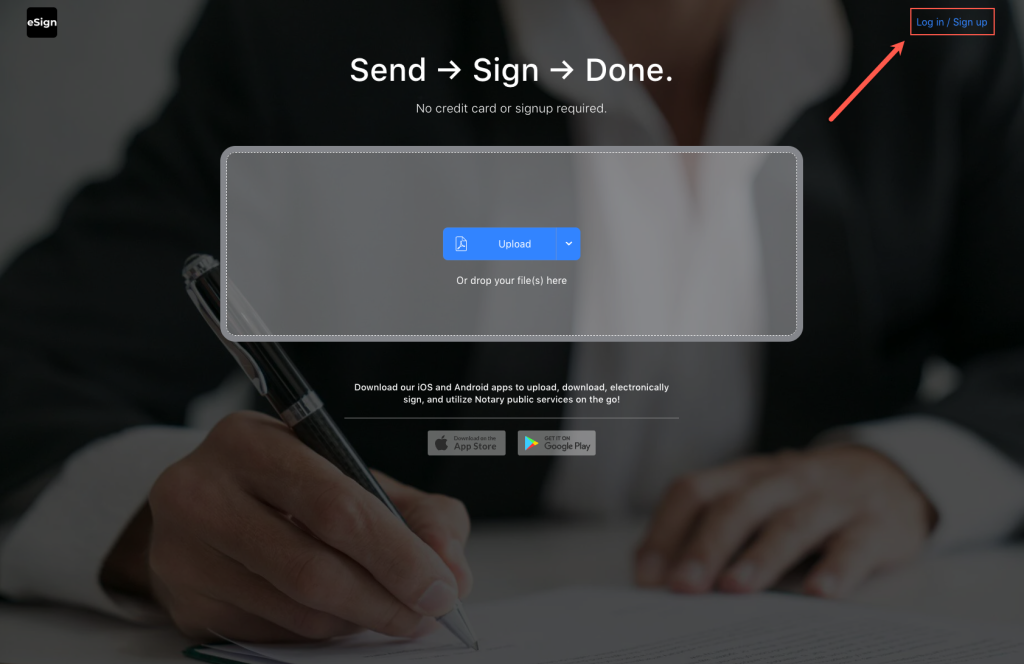
Step 1 – Go to eSign.com and click “Log in / Sign up”
Head to our homepage (https://esign.com/) and click “Log in / Sign up” in the top-right corner.
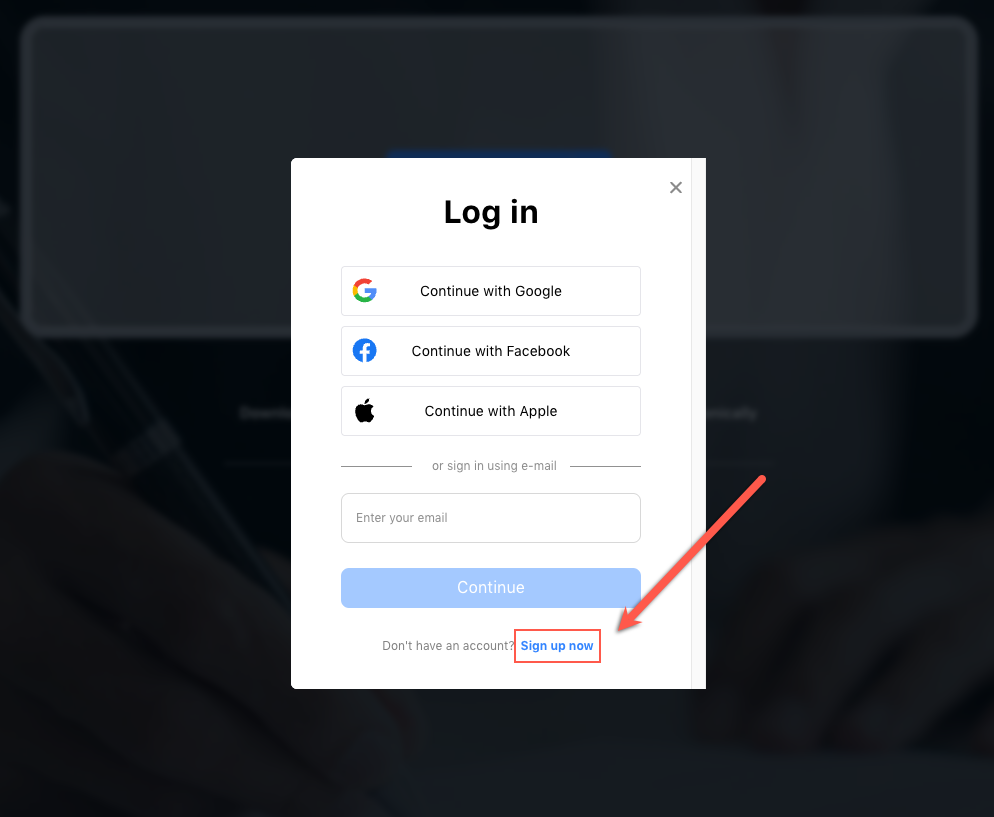
Step 2 – Click “Sign up now”
A pop-up will appear. Look towards the bottom of the pop-up and click “Sign up now.”
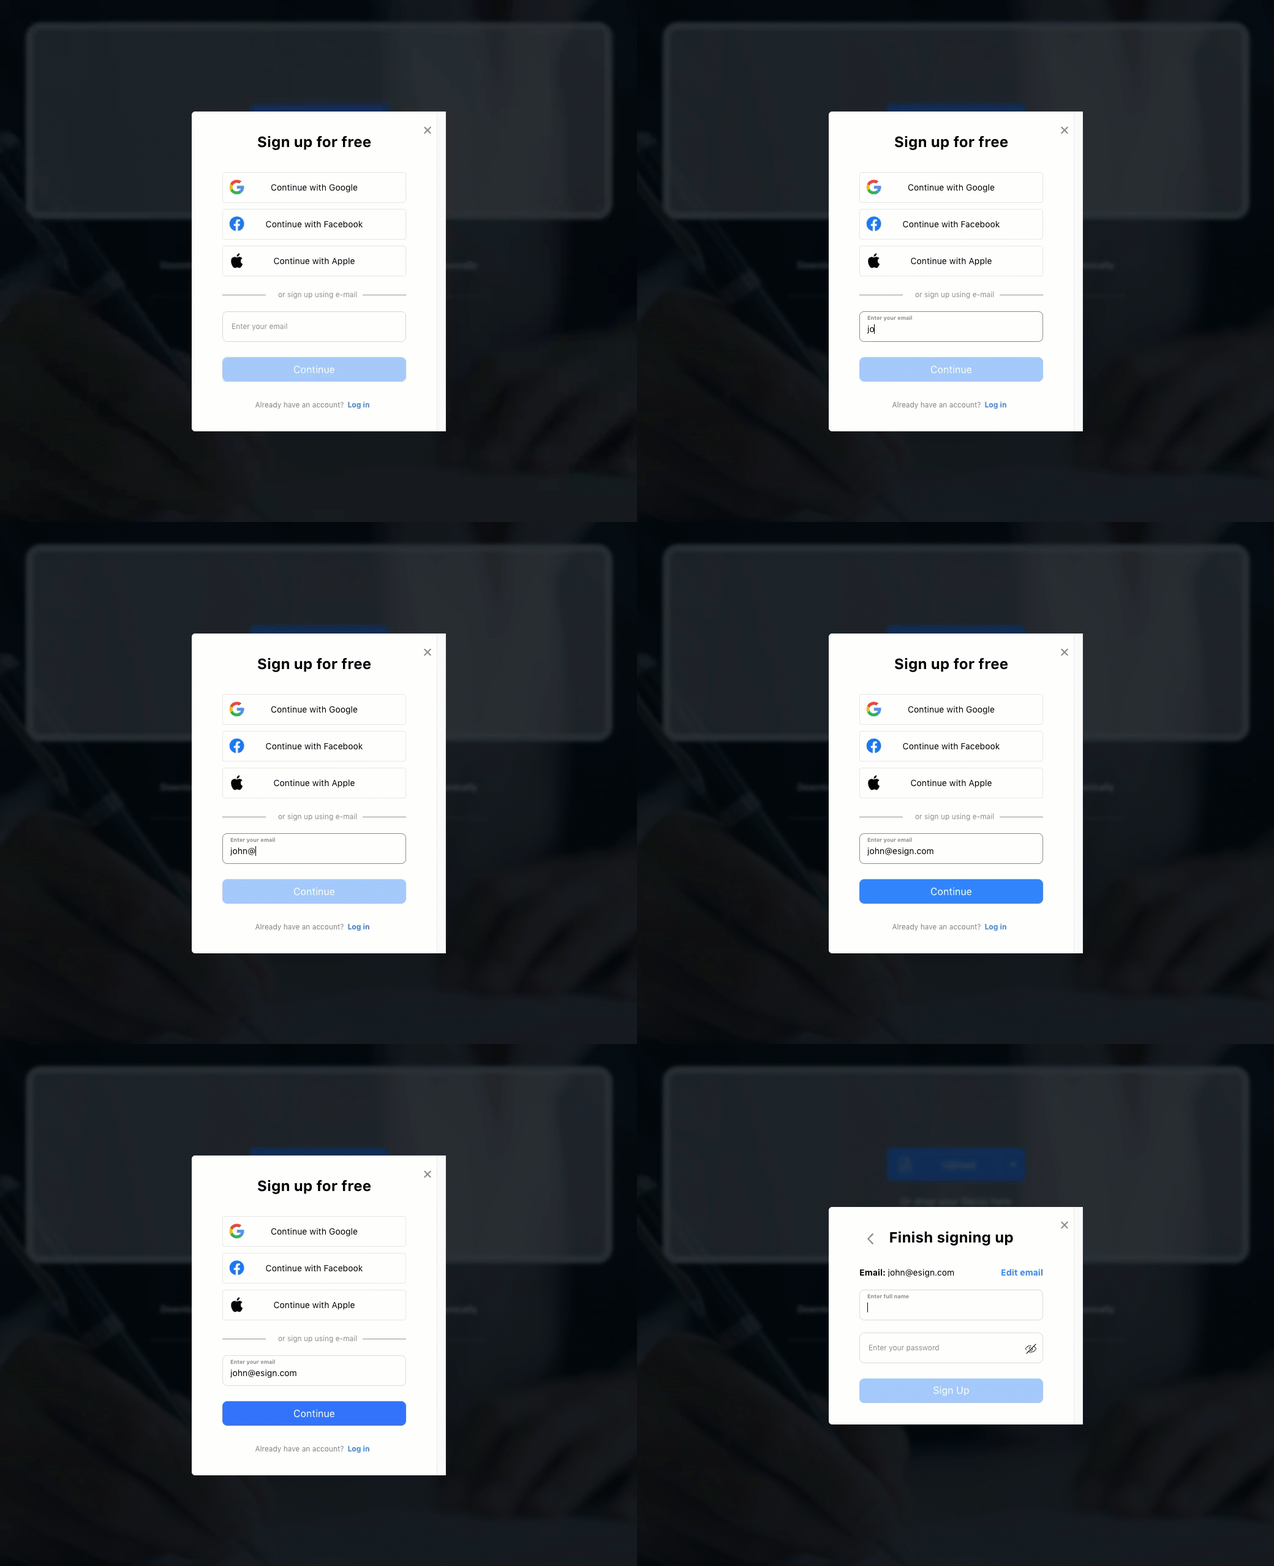
Step 3 – Enter your Email Address
Type your personal or business email address and click the blue “Continue” button.
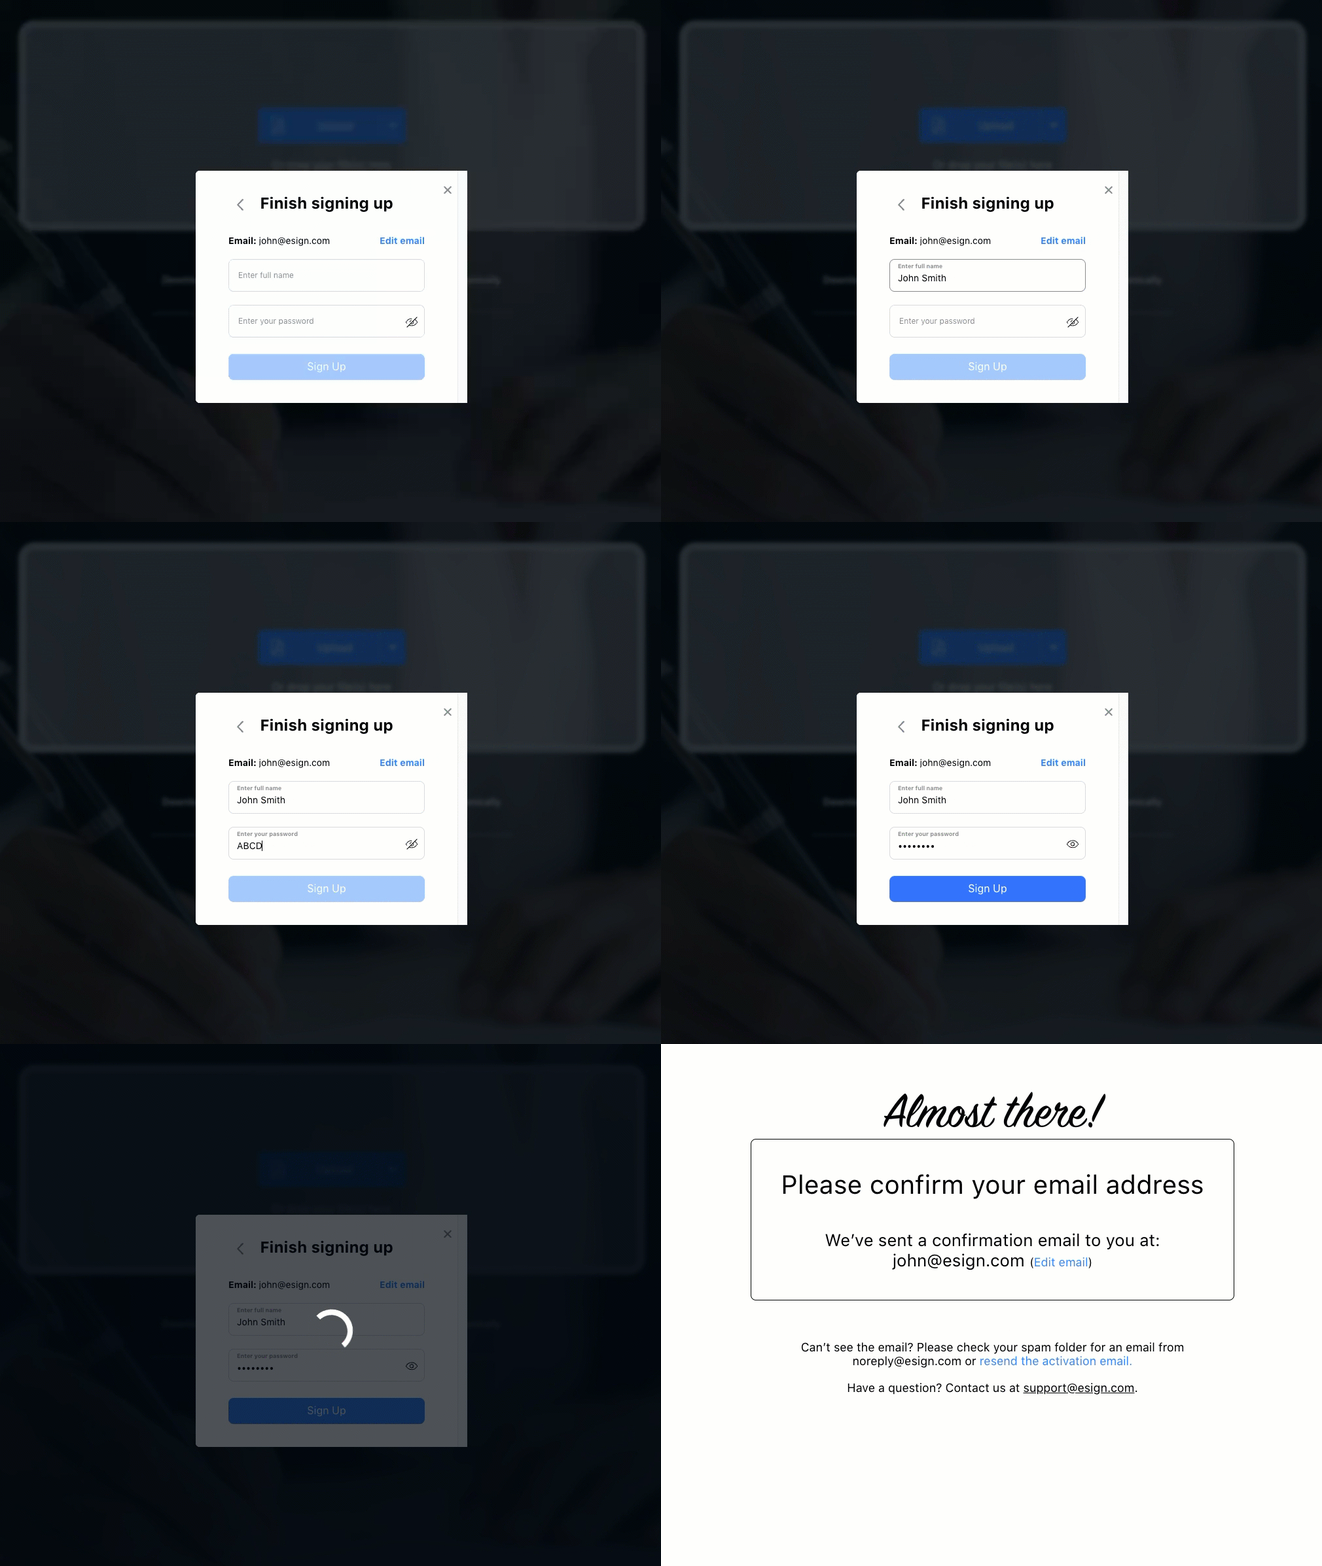
Step 4 – Enter your Full Name + Create a Password
In the first field, type your First and Last name. Next, create a unique password. Make sure you save your password so you can access your account later.
Step 5 – Click “Confirm Email”
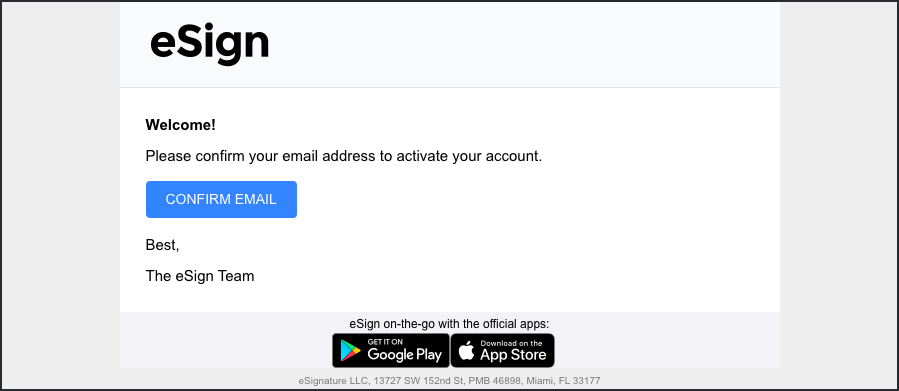
Login to your email account and look for the email titled “eSign Account Activation.” Click the blue Confirm Email button to activate your new account.
You’ll now be brought to the Dashboard of your new account. For help with sending your first sign request, check out our help article How to Send a Sign Request.

