Templates save time and ensure consistency. They let you set up a sign request once, so you only need to enter the name and email of each recipient before sending. Below we’ll walk you through creating your first template.
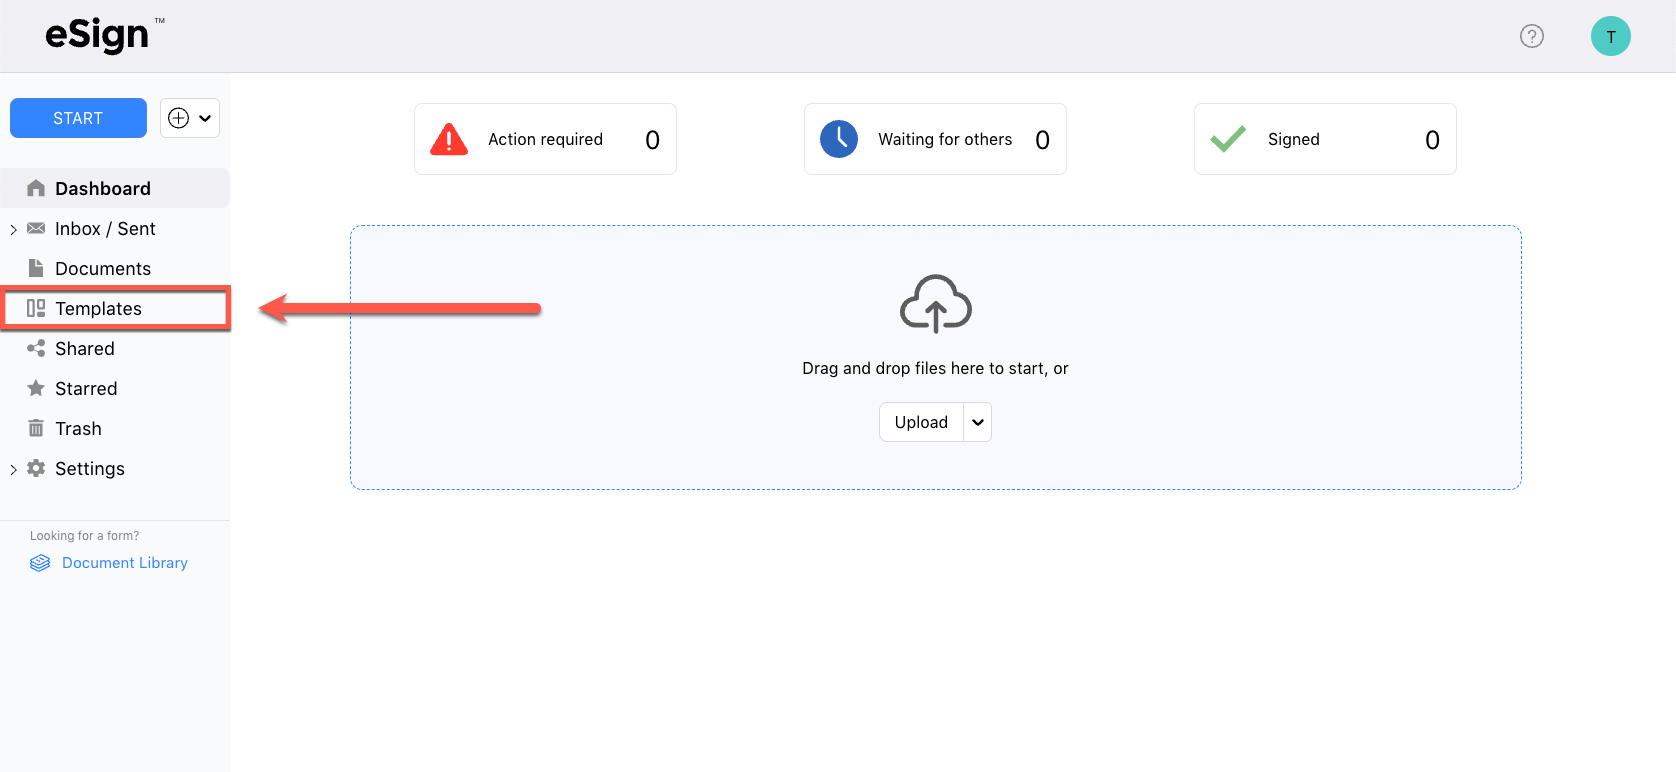
Step 1 – Click the “Templates” Tab
This first step requires you to be logged in (no paid account necessary). To learn how to create a free eSign account, see our article “How to Create a Free eSign Account.”
Once you’re logged-in, click the “Templates” tab in the left sidebar.
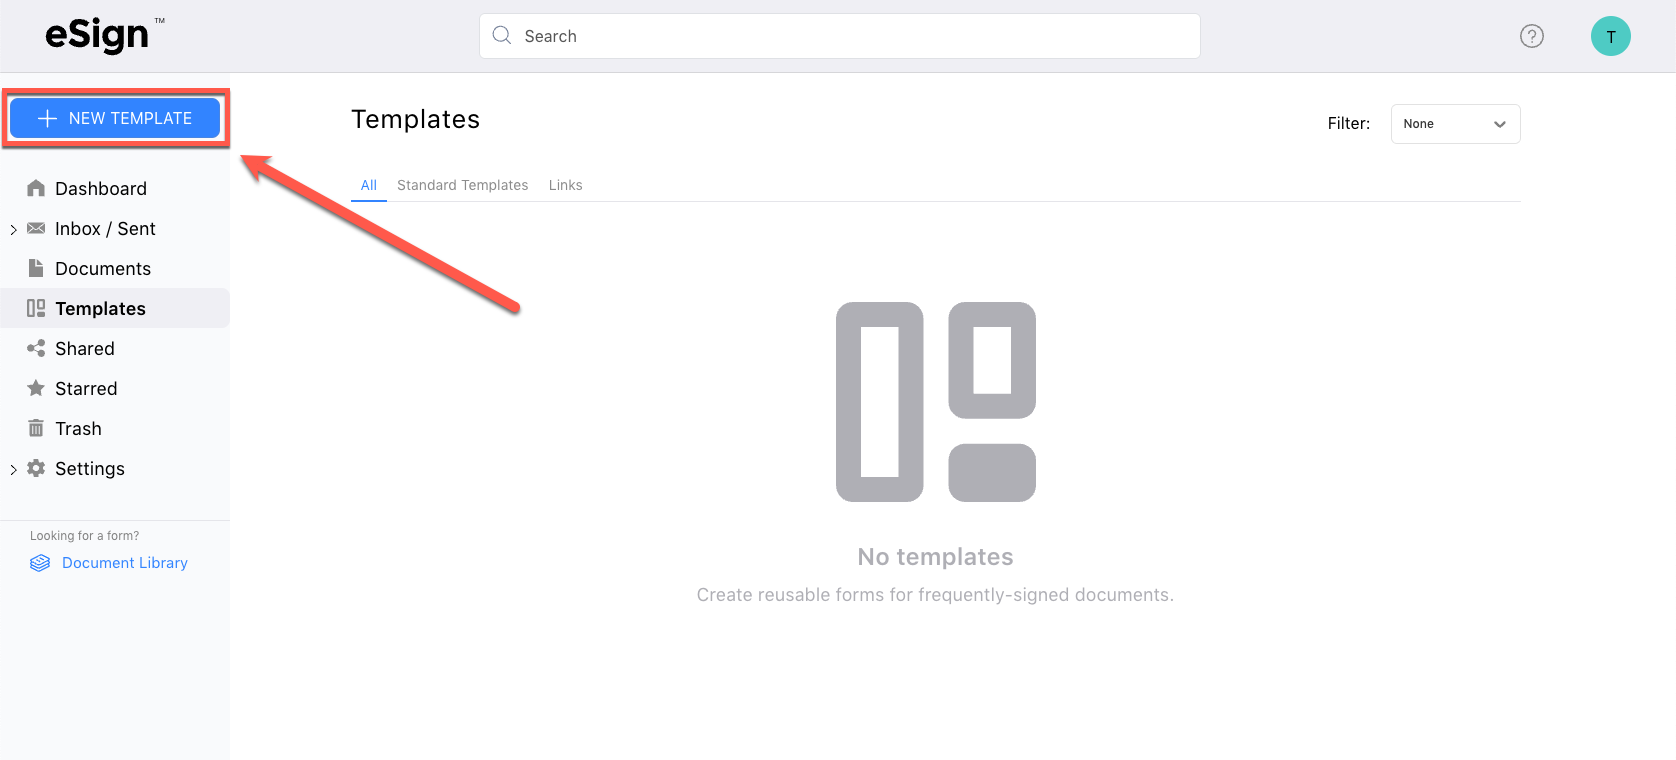
Step 2 – Click “New Template”
Look to the top-left and click the blue “New Template” button.
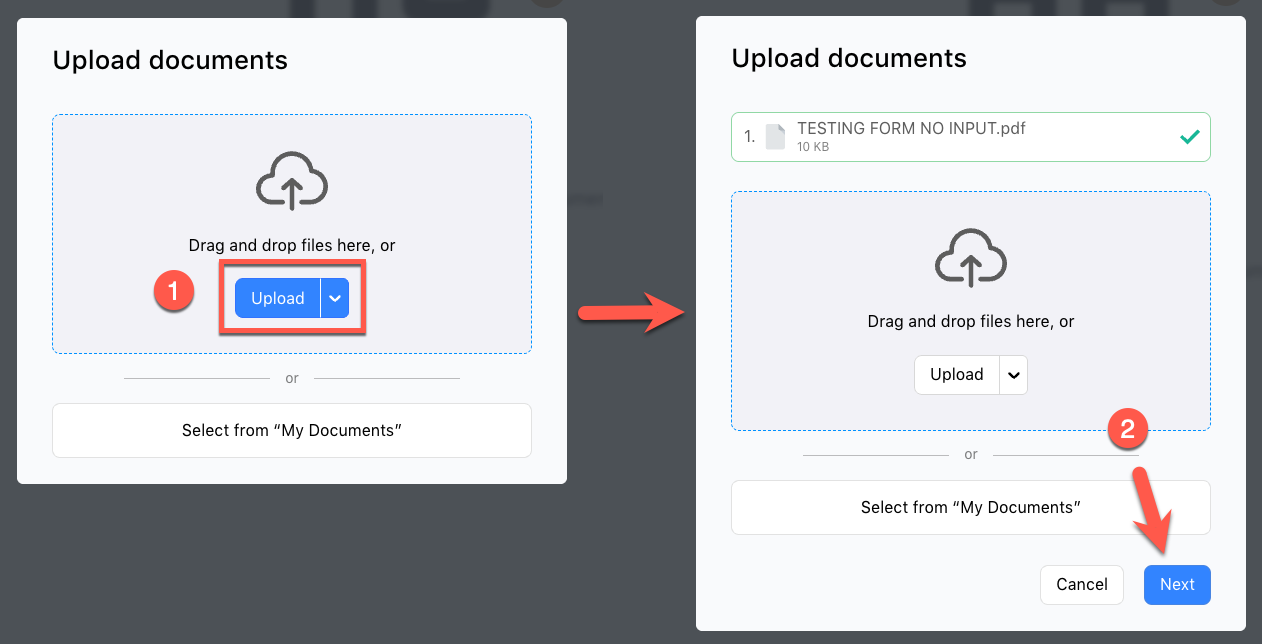
Step 3 – Upload File(s)
Upload one (1) or more file(s). Accepted file types include PDF (.pdf), Word (.docx), Rich Text Format (.rtf), Text Files (.txt), Image Files (.png & .jpg), and Spreadsheets (.xlsx & .csv).
After uploading the file(s), click the blue “Next” button.
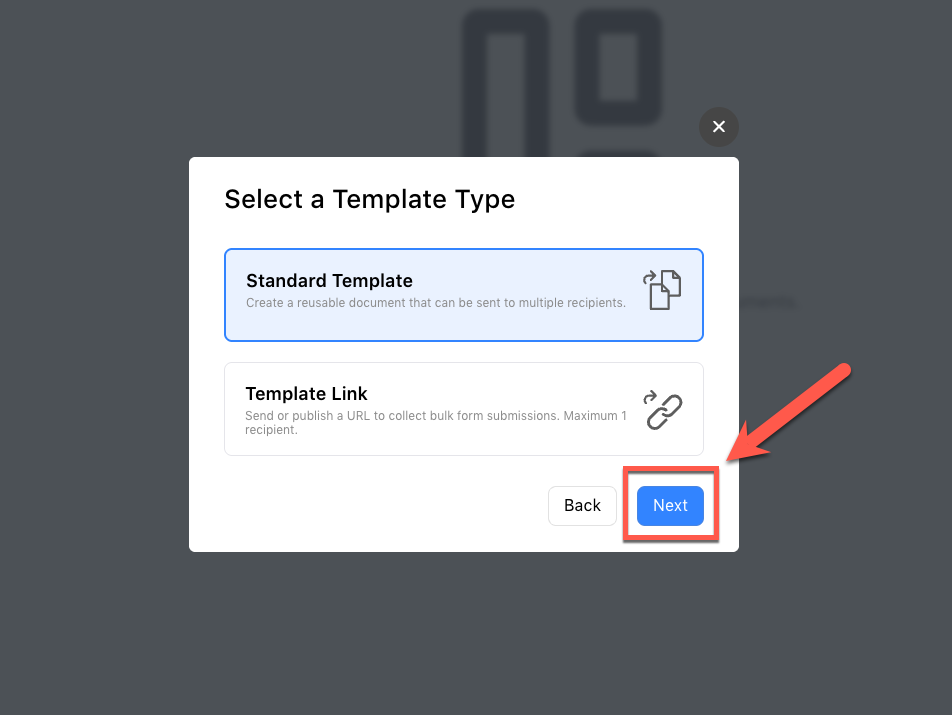
Step 4 – Select “Standard Template”
In this tutorial, we’re showing you how to create a standard template. To learn how to create a template link, see our article “How to Create a Template Link.”
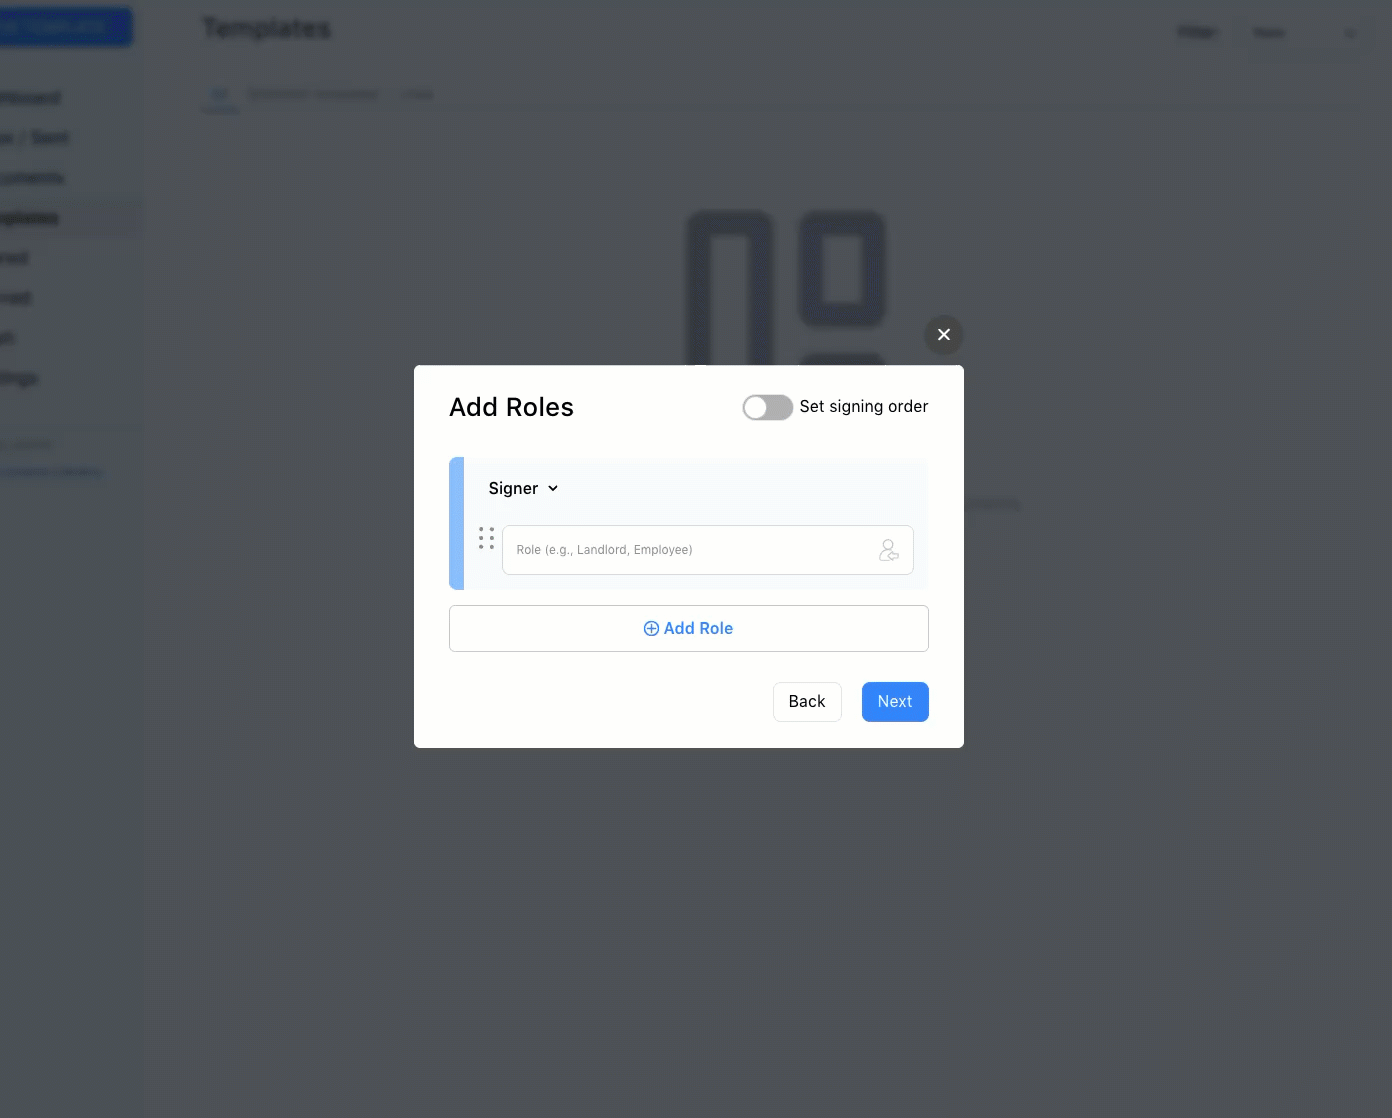
Step 5 – Add Roles
The “Role” is the recipient that will sign or input information each time the template is sent. If you’re creating an NDA for your employees, for example, the “Role” would be the employee that signs.
If the owner or manager that sends the NDA will remain the same, however, you can pre-fill their name and email by clicking the “Pre-fill” button (inside the “Role” field). By pre-filling their information, their fields will always assigned to them, removing the need to enter this each time the template is sent. If you will have a role in the template, you can pre-fill your information as well. If you include yourself, make sure the email that is used matches your account’s email address.
If you want your template sent individually after each recipient completes their information, click the “Set signing order” button. To rearrange the recipients, click and hold the “Drag” button (which looks like six dots) to the left of the “Role” field.
Once you’ve added all roles to the template, click the blue “Next” button.
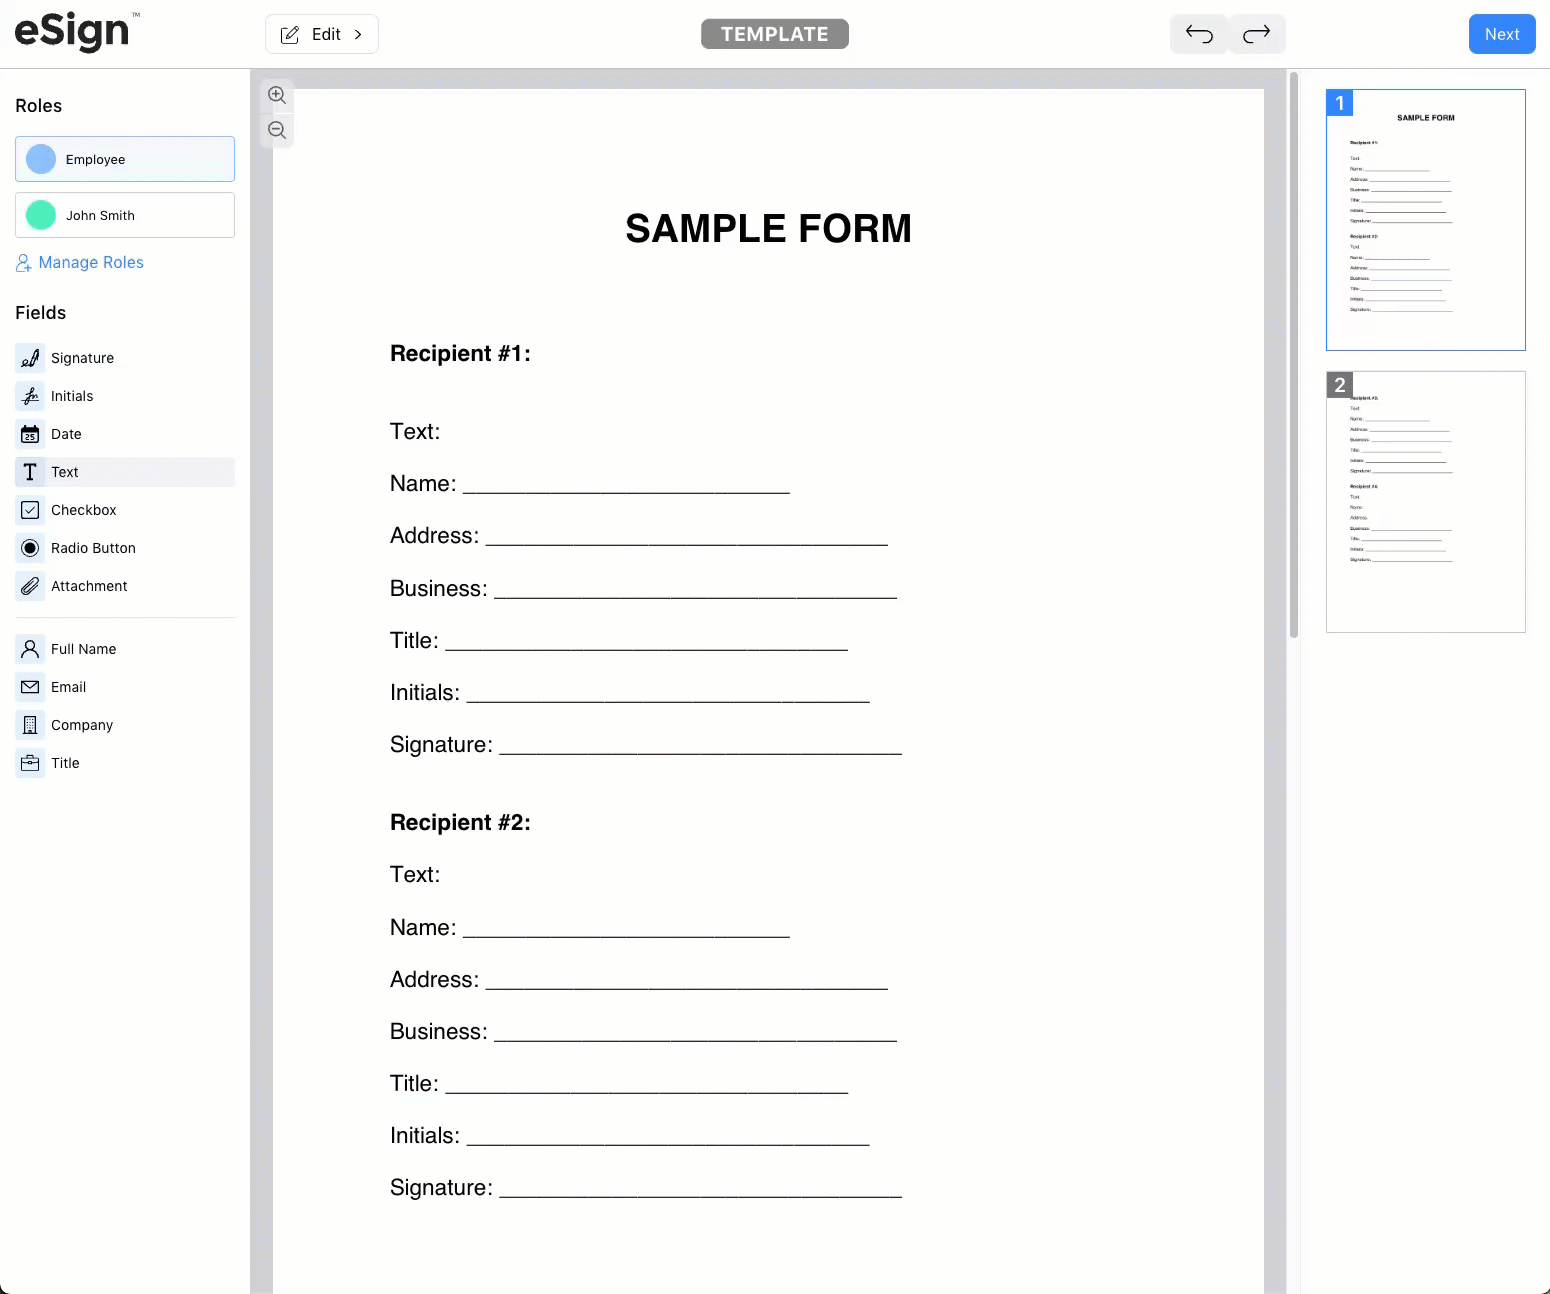
Step 6 – Place Fields
Select the recipient in the upper left side of the screen. Then, click on a field and drag it to an empty space on the form. You can resize a field by grabbing its edges.
Once all fields have been placed for all recipient(s), click the blue “Next” button.
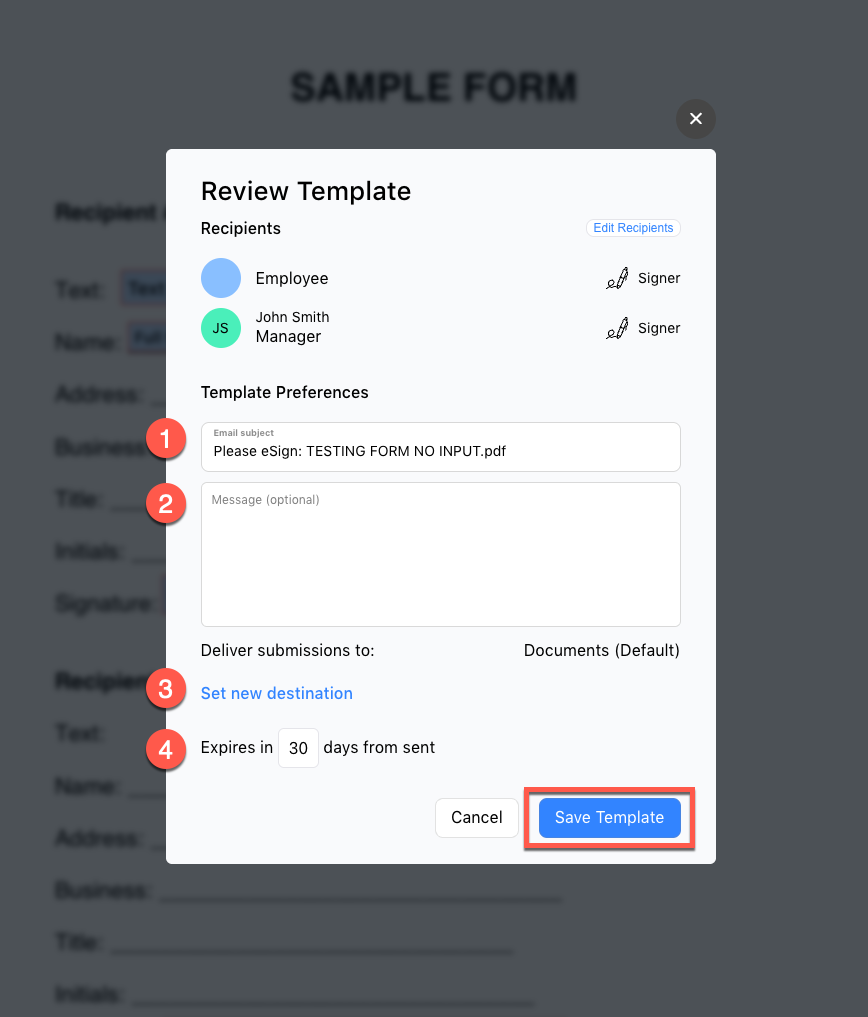
Step 7 – Review & Save
The review pop-up provides a once-over of the template’s details. It allows you to:
- Include a custom email subject
- Add a message to the emailed sign request
- Set a specific folder that all completed submissions of the template are delivered to
- Change the expiration date for all sign requests that are sent from the template. This does not apply to the template itself.
When you’ve finished editing the preferences, click the blue “Save Template” button.
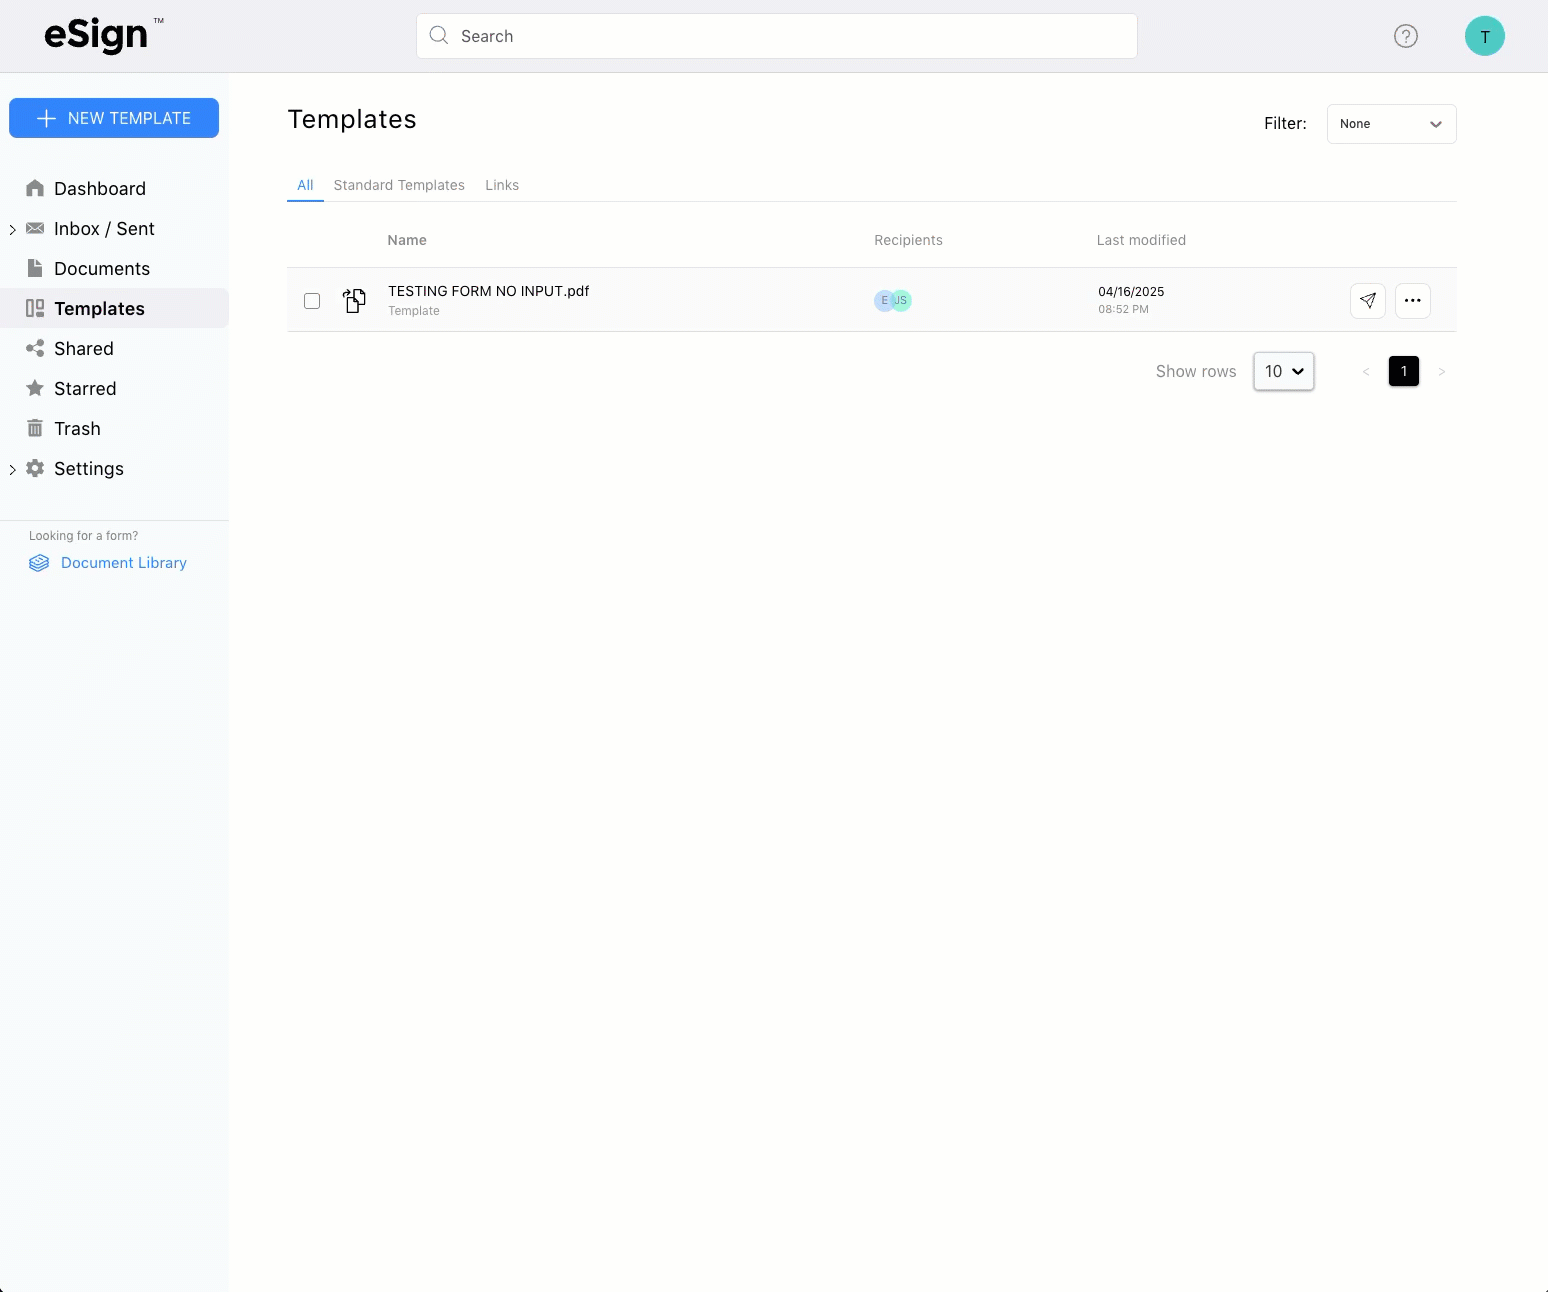
Step 8 – Using the Template
To use your newly created template, go to the “Templates” tab and click the “Use Template” button (it looks like a paper airplane).
Then, enter the full name and email for each role. Pre-filled recipients will include their names and emails automatically—these don’t need to be edited.
Once all roles have a full name and email inputted, click either the “Quick Send” button or the blue “Next” button. The “Quick Send” button sends the sign request immediately and skips the field placement and “review and send” screens. This option is best if the sign request doesn’t need any edits. If you want to make changes, click the blue “Next”. These changes don’t edit the template, just the sign request created from the template.
Once the sign request is sent, it will appear in both the “Sent” and “Documents” tabs. You can see its status anytime by clicking the document in your dashboard.